#Projects
Projects table overview
All the projects are listed in the top table in the Workspace tab. Every project corresponds to a single conversational process.
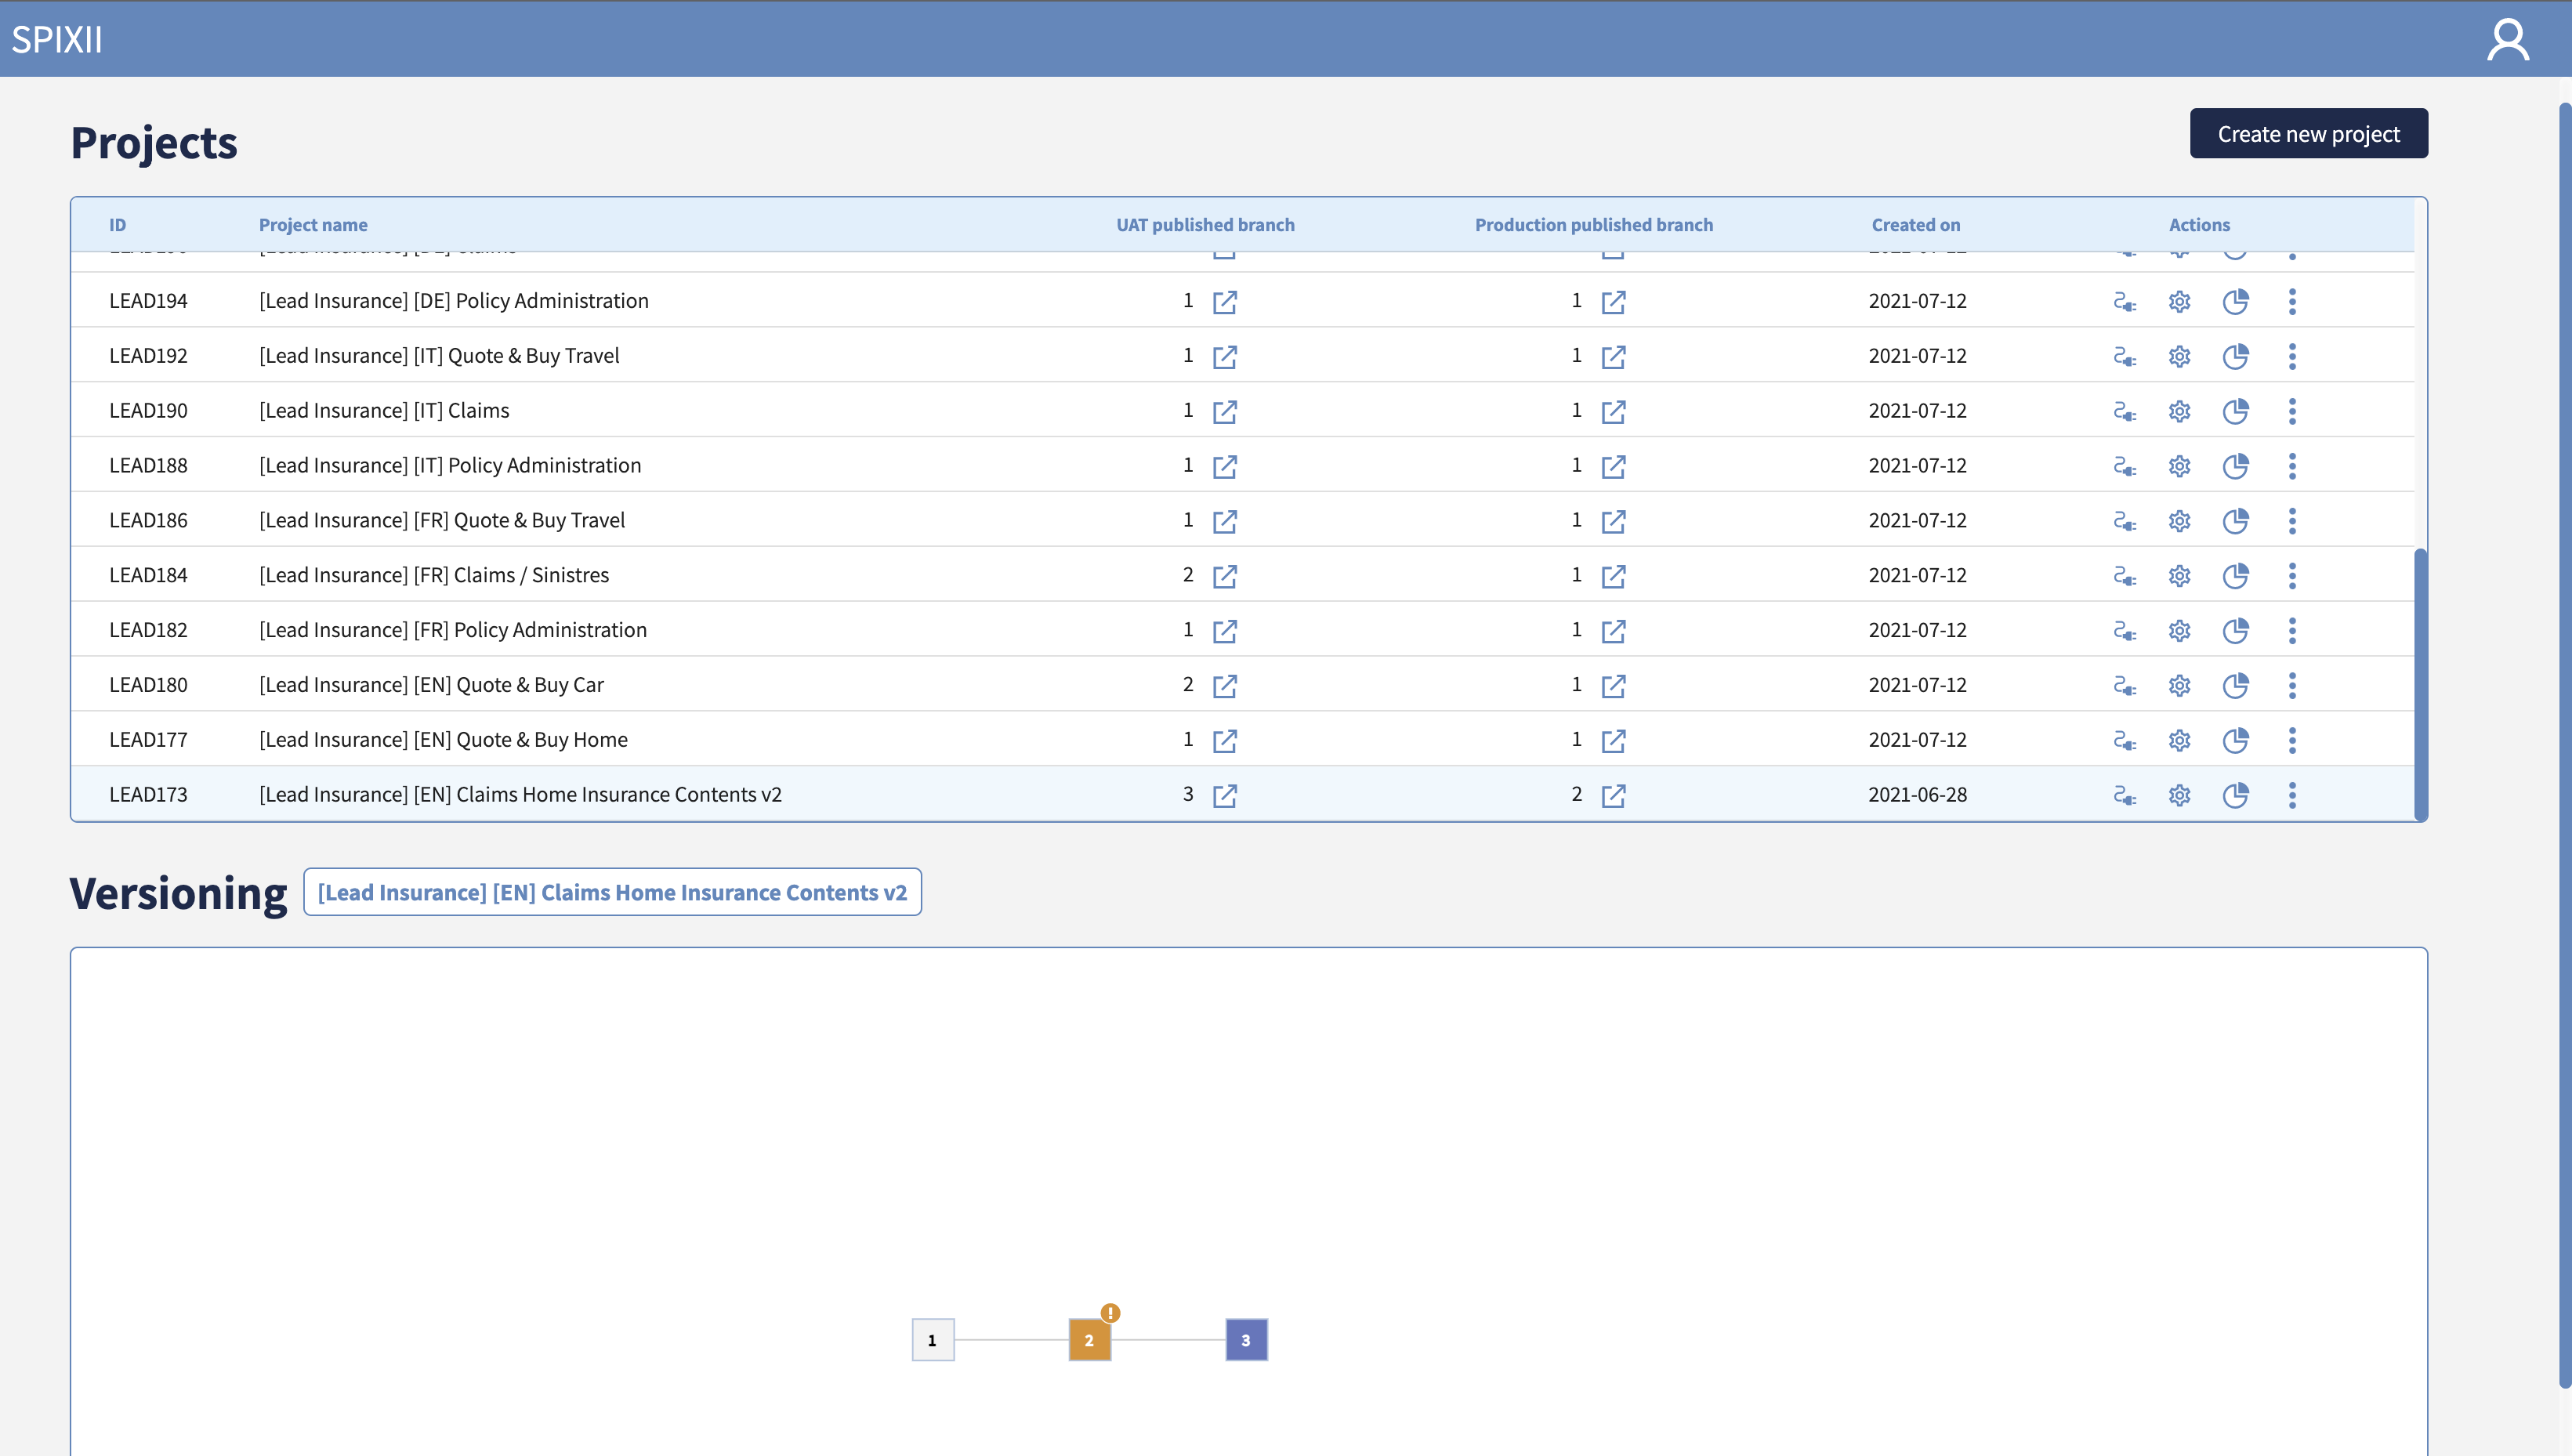
ID
This is the unique identifier of the project

Project Name
This is the name of the project. You can rename it using the menu (3 vertical dots) available in the Actions column on the right of the table and then click on Rename project.
UAT published branch

- The branch of each project correspond to a number which can be seen in the versioning tab, the lower table in the workspace tab. The
UAT published branchis the branch number of the project available in UAT environment. UAT environment means User Acceptability Testing environment. - Next to the version number, on the right, there is a quick access icon linking to the chatbot that runs that specific conversation version.
Production published branch

- The branch of each project correspond to a number which can be seen in the versioning tab, the lower table in the workspace tab. The
Production published branchis the branch number of the project available in Production environment. - Next to the version number, on the right, there is a quick access icon linking to the chatbot that runs that specific conversation version.
⚠️ Important note Not always UAT and Prod environments are aligned. As in the image example, a project can have version 1 published in Prod and version 2 published in UAT. Such mechanism allows to test thoroughly new conversational process versions before promoting them to Prod.
Created date
This is the date when the project was created on.

Actions

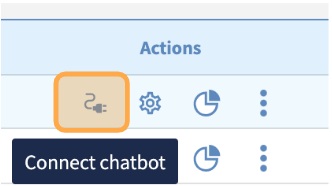
Connect chatbot
The chatbot is the conversational interface of the conversational process built. By clicking on the first icon, the chatbot can be embedded in website and mobile application located in UAT and Production environments. This allows separation of the data for testing (UAT) and real users data (Production).
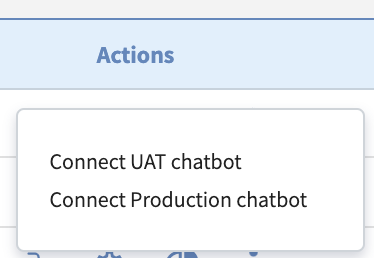
Each connections offers code snippet for two implementation types:
- JavaScript Web Client (JavaScript snippet)
- iframe (HTML snippet)
The code snippet can be copied directly by clicking on the copy icon.
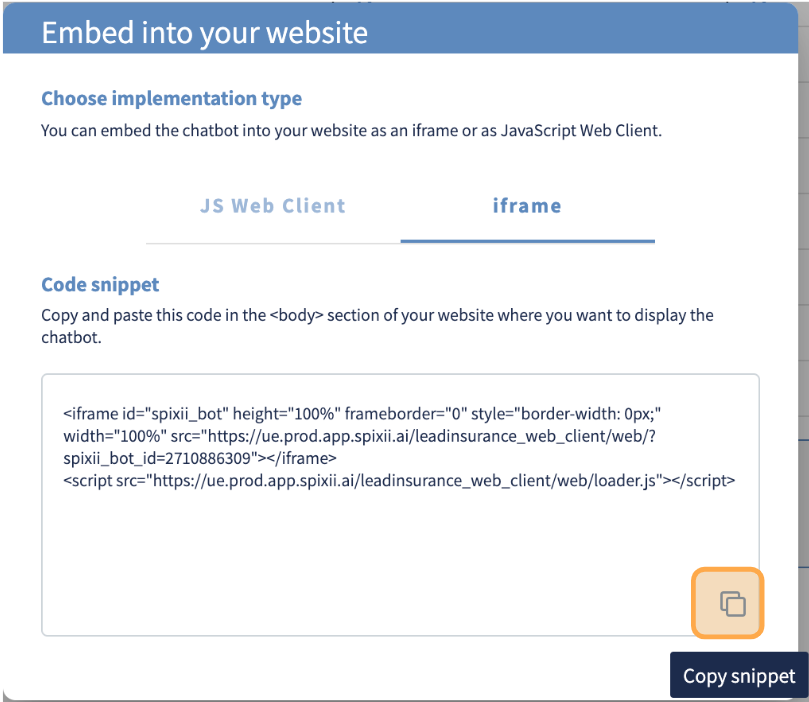
For each option a code snippet will be available. Such code should be copied and pasted into the <body> section of the website. This will automatically trigger the chatbot.
The main difference between the two is that the iframe will load according the loading order of the elements in the website or mobile app and is the easiest to implement. Whereas, the JS Web Client will load at the same time of the other elements providing the optimal user experience.
Metrics and variables
The second icon allows to access Metrics and Global variables.
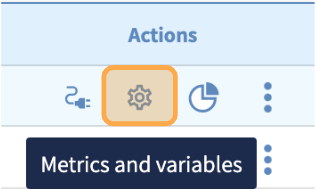
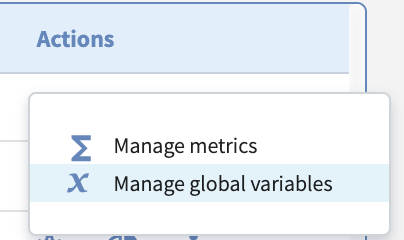 Metrics and global variables are advanced technical configuration panels that help the analytics and the portability of the processes.
Manage metrics
⚠️ Working progress ⚠️ This session will be available soon.
Manage global variables
Global variables are variables that will be assigned when bootstrapping a conversation: they are defined by:
- a unique name (mandatory, shorter than 255 characters)
- a value (optional, shorter than 4000 characters)
- a key (optional, shorter than 255 characters)
Like any other variable, global variables can be referred into the conversational process with their name as {{name}} or in the source code of functional nodes using the procedure get('name').
Global variables are very useful to parametrise configurations that differ between UAT and Production.
In the example below, two variables FDURL and FDToken are initialized for the UAT and Production. They might have different values, eg. the UAT variables are pointing to the testing API, meanwhile the Production variables point to the official API in Production.

⚠️ Important note The ultimate meaning of the global variables is keeping the same conversational process, function integration and UI assets between UAT and Production environments; therefore, global variables are not included in the release process. The CPA manager which is releasing a project from UAT to Production must check manually that the variables are correctly initialized to the right values.
Reporting dashboard
The 3rd icon is to access the reporting dashboards which are very useful for management information reporting. For more information on the reporting dashboard, please refer to the reporting dashboard section.
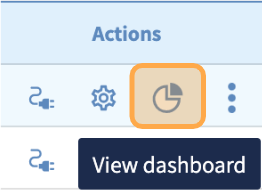
This button gives access to the reporting dashboard of the selected process.
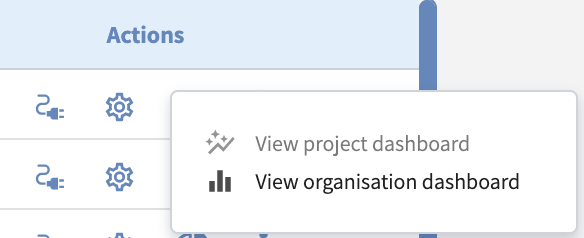
By default the organisation dashboard is created. When an organisation has several projects in production, dashboards exist for each projects and there is one summary dashboard at the organisation level.
Actions menu
The fourth icon is for accessing advanced options about the project.
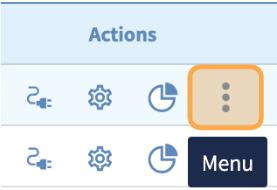
Project settings
The following options are available under the Actions menu.
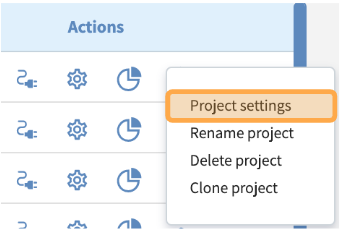
The Project settings option contains a number of advanced configurations of the project.
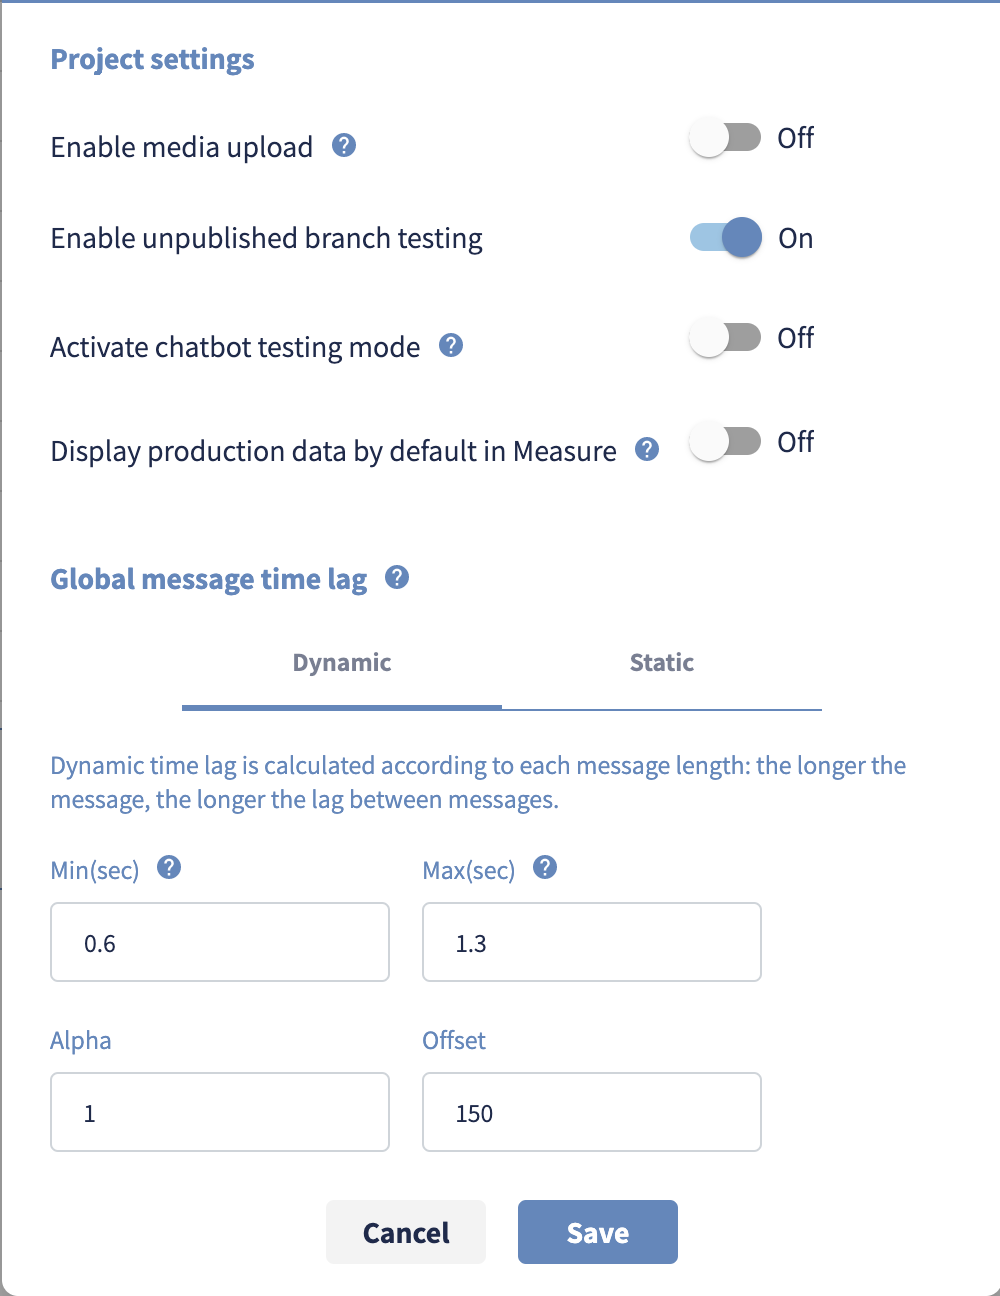
Enable media upload
 Enable the conversational project to accept import of photos, documents and videos. For more information on this, please refer to the section on media upload feature.
Enable unpublishing branch testing
 If enabled, a specific branch of a conversational processes can be executed by appending the option
 &b=<branch number> to the URL of the UAT or Production.
⚠️ Important note This feature is disabled by default for security reasons. In particular, it's not well recommended allowing old and unmaintained conversational processes to be accessible. The feature become quite useful for soft-launch of a new branch in Production on a limited portion of customers.
Activate chatbot testing mode

The chatbot display will now incorporate the node and edges ID such as in the example below:
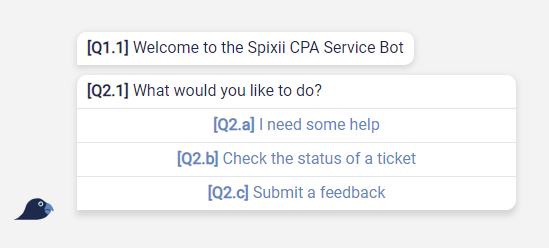
⚠️ Important note
The chatbot in testing mode will also give some technical information on the process execution (they can be seen by.prod.lopers using any inspector tool). In particular, at bootstrap phase of the web client a variable array called gloval_vars containing all the Global Variables previously defined will be returned in the log.
Sensitive information contained in the Global Variables may be exposed in testing mode. Spixii recommends to turn off the testing mode once the testing phase is completed.
Display production data by default in Measure

This option configures the Measure tab default data source, which by default points to UAT. This option becomes useful when a particular project is in Production since a while and there is no need to look at the conversational analysis on UAT.
⚠️ Important note Activating or deactivating this option won't impact the generation of the conversational analytic tree for the two environments, UAT and Production: both will be generate in real-time once opened the Measure tab.
Global message time lag
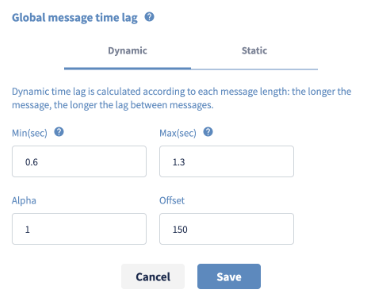 This option is set by default on Dynamic when the time for the bot to generate a message is proportionate to the number of characters contained in the message being sent.
The parameters are:
-
m "Min" (in seconds) Define the minimum waiting time to roll out a message; if the number of characters is low, the m* value will avoid the "too-quick" response effect.
-
M "Max" (in seconds) Define the maximum waiting time to roll out a message; if the number of character is high, the M will avoid the "too-long" waiting effect.
-
α "Alpha" (in radians) This parameter determinates the speed of the delay curve from the minimum m to the maximum M. The lower is α, the smoother is the delay effect.
-
C "Offset" (in number of characters) The offset C defines when to activate the delay curve: a low value of C means that the smoothing effect will be applied immediately, meanwhile a high value of C will reduce the smoothing effect to large messages only.
The following diagram will describe the mathematical behaviour of the delay formula.
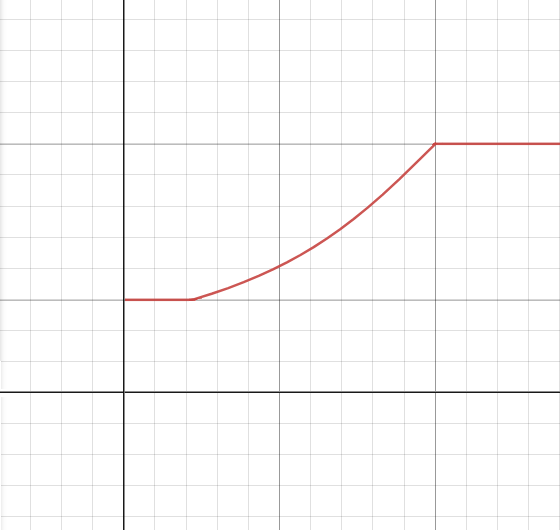
The two horizontal red lines represent the minimum m and the maximum M.
Let x be the number of characters of a message; the curve between the two lines is the delay function d(x) which is define as:

In other words, the chatbot will roll out the messages with the following mathematical rule:

Rename project
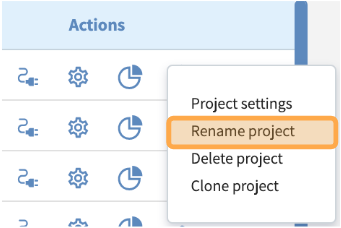
Click here to rename your project
⚠️ Important note Project name must be less than 255 characters. The ID of the project is assigned automatically by the system and can not be changed by the user.
Delete project
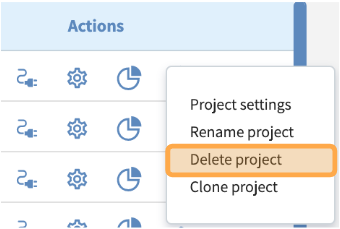
Click here to delete your project and then confirm.
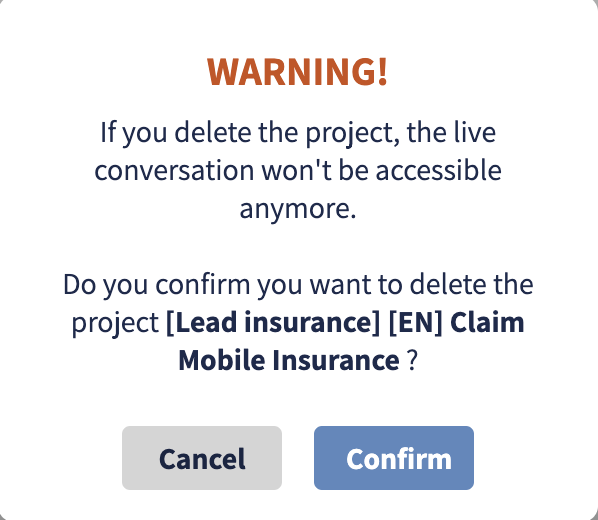
⚠️ Important note Anonymised and non-personal conversational data of your deleted projects won't be deleted; all the other data will be removed. A locked backup system will still keep a copy of your project for 30 days: please contact us if you need to retrieve your project after a deletion within this time frame; after that, the project won't be restorable anymore.
Clone the project
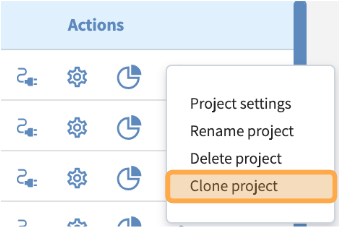
Click here to clone an entire project. This function is particularly useful if you would like to connect your conversational process to more than 2 environments. All branches will be duplicated in the new project.
How to create a new project
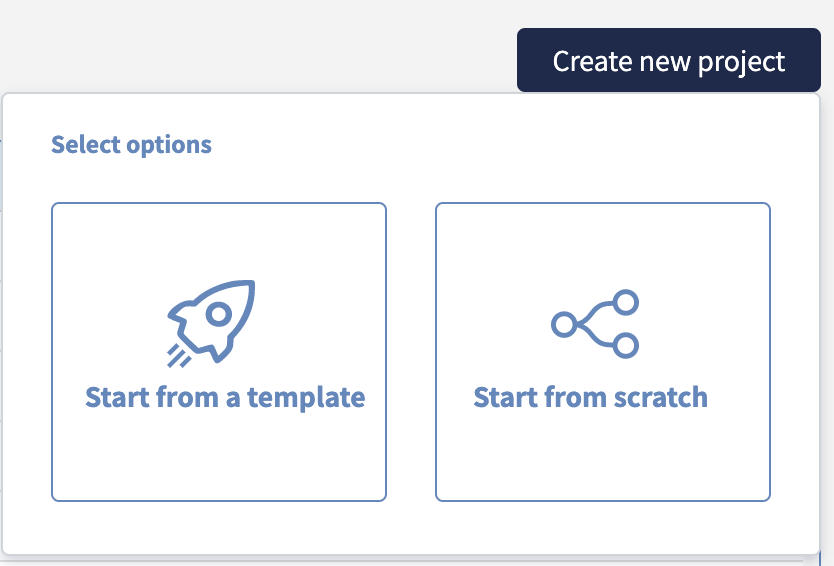
To create a new project, click on the Create new project button at the top-right of the Projects table.

You can either Start from a template or Start from Scratch.
Start from scratch
On click, a window will appear asking to enter the new project name (it will be possible to edit the name after creation of the project).
After confirming the name, the project will be available as the first item of the list from the top of the Projects table.
As soon as the project is created, a new versioning system is automatically associated with that specific project. Therefore, for every new project, a version 1 will be available by default with an empty conversational process.
As for all the other projects, in order to open and edit the project, click on the the project from the Projects table and then select the version from the Versioning table.
Start from a template
⚠️ Working progress ⚠️ This session will be available soon.